So, I had an order today and it was a fab one at that! I do love to see baked goods in abundance. These are really fresh and vibrant desserts/ bakes.
There is something really comforting and satisfying about seeing cake and smelling it. Not in a creepy 'I have a fetish with smelling cake' way though. In a seeing something that you've made and looking at the effort you've put into it kind of way. What was once some meaningless ingredients to something magical and delicious.
I made three desserts. They were;
- 1 Key Lime Pie

- 1 Coffee and Walnut cake with coffee buttercream and a walnut sprinkle

- 1 Chocolate cake with chocolate buttercream and chocolate ganache

These are great cakes, as a) they serve a lot of people, so are cost effective. b) they are delicious, seriously, if you haven't has ganache before, you haven't lived and need to try it. c) they are a pleasure to make!
I'll start with the Key Lime,
Key Lime Pie;
Now, I've heard that key limes are quite the hard little commodity to get a hold of. So any old lime will work, personally they don't taste much different to me. They all have the same zingy, fresh taste to them.
A little background information, as I was watching a news report on them today... or was that a dream??? Anyway, and found it interesting. Although, if you aren't interested, scroll by, I won't be offended.
'Key lime pie is an American dessert made of Key lime juice, egg yolks, and sweetened condensed milk in a pie crust.The traditional Conch version uses the egg whites to make a meringue topping. The dish is named after the small Key limes that are naturalized throughout the Florida Keys'
(https://www.google.co.uk/#q=why+is+key+lime+pie+called+key+lime)
I really enjoyed making this as it was a new experience and was exciting. It's an American dessert and had heard of it before, but had never tried it. I found a really good recipe though and enjoyed making it. It is almost like making a cheesecake meets a tart.
The equipment that you will need;
- A food processor or a zip lock bag and rolling pin
- Baking tray
- Pie dish, or tart tin
- Whisk
- Can opener
- Spatula
- Piping bag or just dollop on the meringue
The ingredients you'll need;


- 150g Butter, melted
This is for the biscuit base, all buttery and delicious. You want to blitz the biscuits until they form fine crumbs and add the butter. Mix this with a spatula until the butter is mixed in and the crumbs are coated in buttery goodness.
Once the crumb biscuit base is done, press down on the tart tin or pie dish. Butter the dish so the crumb base will come away easily, when portioning it out. Press down with your hand, or a spatula which is what I used. Start at the middle and then push the crumbs up the sides and the even out on the center.
Bake in the oven, that is preheated for 140 degrees C for 10 - 15 minutes, or until it is set, and a darker golden brown colour.

- 397g of Condensed Milk, this is the measurement that is sold in the cans, making it easy
- 4 Limes, juice and zest

Put the egg yolks into a mixer and whisk until light and fluffy. You want to get as much air into this mixture as possible. Add the condensed milk, use the spatula to get all the condensed milk out. Whisk this until it is fully combined and light and fluffy.
Slowly add the lime juice and zest as adding it too quickly could cause the mixture to split. So mixing it in slowly will stop this.
Pour this into the cooled digestive biscuit base and put back into the oven for 15 minutes to set the eggs.

Once set, take out of the oven and leave to cool before putting on the meringue.
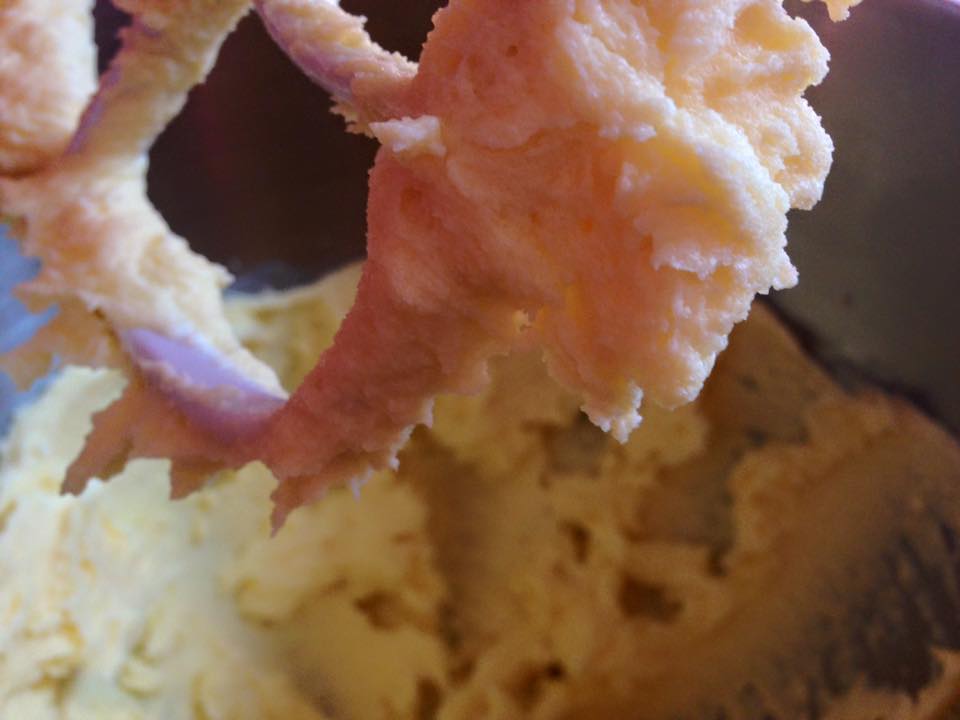
To make the Italian meringue;
- Put two egg whites into a bowl and whisk until they are stiff peaks.
- Whilst the eggs are whisking, put 4 oz caster sugar into a pot with 2 tbsp of water and heat to form a sugar syrup. Do this until it bubbles up and has a syrupy texture and consistency.
- When the egg whites are stiff, add the sugar syrup slowly. Pour it along the side of the bowl, as you don't want to shock the eggs with this intense heat. Whisk the eggs until they form stiff stiff peaks and are pure white and glossy.
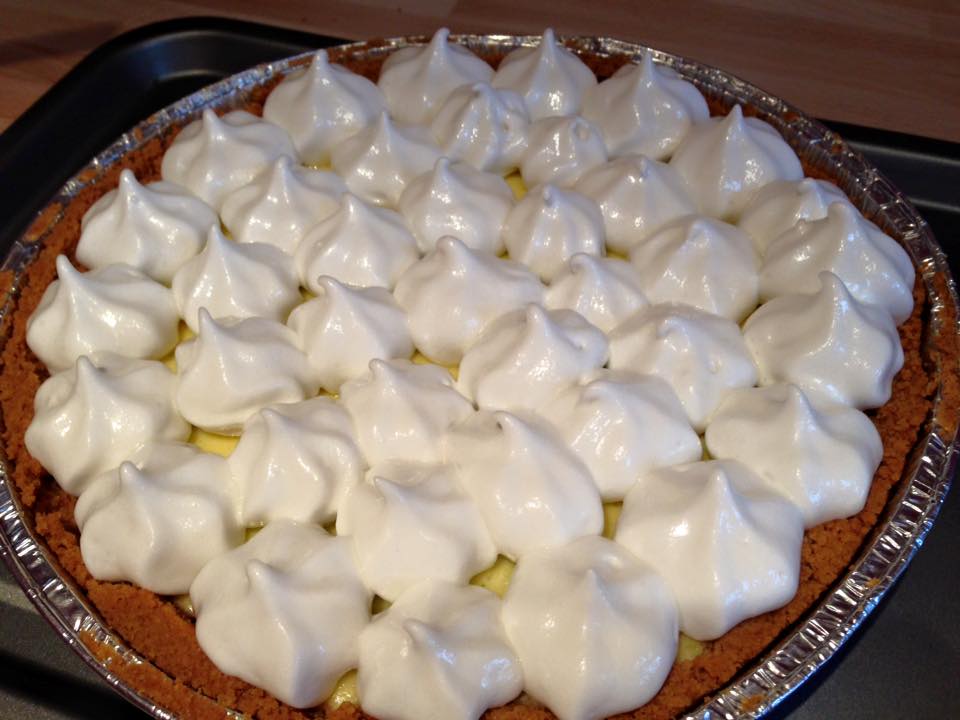
- Pipe this onto the pie topping and put back into the oven at 140 degrees until the meringue is set and browned on the top. Then grate some lime zest on top and refrigerate overnight to let it set completely.

Coffee and Walnut cake with Coffee Buttercream and walnut sprinkles;

You will need;
- Baking paper
- 2 x 22cm Cake tins
- Mixer
- Scales
- Spatula
To me coffee and walnut cake seems like an old reliable bake and one that never goes out of style or fashion. It's not only delicious, like any cake, but it has a new and exciting texture combination. The walnuts give a satisfying crunch to each and every bite- yum! This makes it more interesting to eat, anything that has varied textures and tastes is going to be more enjoyable to eat. If you have something that is all one texture and tastes the same, well that is going to be boring to eat. You might as well chew on some cardboard.
Ingredients:
- 220g Butter
- 220g Caster Sugar
- 4 Eggs
- 220g Self Raising Flour
- A good helping of coffee powder
You want to weigh out the ingredients, this will mean that you can fling and chuck to your heart's content and not have to pause your flinging tendencies for weighing out the next stage.
Line and butter two 20cm cake tins.
Put the butter into the mixer and mix until softened and light and fluffy. Add in the sugar and now you want to give it a good mix. Really bash it and mix it to get as much air in as possible. I don't really think you can over mix at this stage, so get that anger and tension out and make an amazing cake from it. See- putting your tensions to good use. What's better for de-stressing, than eating some cake!? I ask you that.
Once the butter and sugar are creamed, add in the eggs and mix until combined, before chucking in some flour, well not some, chuck in the right amount, don't go flinging in willy nilly. If you do that, goodness knows what you'll end up with.
Add in the flour, and at this stage don't over mix. But especially for this one, as you'll be mixing in the coffee, so you don't want to mix it so much, finishing off the batter and then over mix when adding in the coffee. Mix until the batter just comes together, or a little before that even.
Mix a little water with a lot of coffee. I'm not going to give an amount as we are all different. Some of us are the bold, strong hand shakers of the coffee world, and like it so strong, we strangle your hand. That's me.
Some of us are the limp hand shakers, we don't like to go in too strong and end up bringing nothing to the table. If this is you, you have a plain cake. I'm sorry, but if you don't like a strong coffee cake, it isn't coffee cake. It is like that act going on stage last that nobody wants to hear, because there is a reason they leave it to last. If it isn't strong, it isn't coffee cake. It is but a plain cake, featuring coffee... although why a flavour should only feature in a cake is beyond me. It should take the stage and make itself known- own it.
Then there's the in between hand shakers- where you go in pep talking yourself, saying 'this is gonna be great!' Go in strong. Make an impression. Then all of a sudden, you feel like you are squishing their hand too much and regret everything, suddenly and abruptly taking away all pressure and leaving them with a weird encounter.
Is this a hand shake or a hand brush? Slowly dying in the other person's hand and not leaving any taste or impression.
Anyway, add the coffee paste and finish off mixing the batter. Portion out into the two cake tins and bake in the oven at 170 C for around 25 minutes or until risen, golden brown and springs back to the touch. Also when a skewer comes out clean.
Take the cakes out of the oven and immediately flip onto a cooling rack and peel back the baking paper. Leave them to cool completely and chill until they need to be iced.

To make the icing, plop some butter into a food processor and mix until it is softened. Add in some icing sugar gradually, little by little until the buttery taste has gone away from the buttercream. Add some coffee and whisk until fully combined.
Pipe onto the first half of the cake and even out so the cake won't appear lop sided. Sprinkle on chopped walnuts and press down slightly to stick them in. Then with a star tipped nozzle, pipe on the rest of the icing onto the top piece of the cake and place it on top of the bottom piece. Sprinkle with another bunch of walnuts in whatever way you want and yay- you're done!
Serve. Thanks and enjoy!
Chocolate Cake with Chocolate Buttercream and Ganache;

I love this cake as it is rich, buttery and chocolaty, oh so chocolaty. What you need for the cake is;
Ingredients:
- 220g Butter
- 220g Caster Sugar
- 4 Eggs
- 220g Self Raising Flour
- 300g Dark Chocolate
- 300g Double cream
- 1 knob Butter
You want to make the ganache first. Making it first ensures that it has time to thicken up slightly and this means you won't have to use as much. This means you'll have more left over to garnish the cake with.
To make the ganache, put the cream into a pot and heat to just before boiling point. When this is reached, bung in the chocolate and mix like you've never mixed before. I mean it- get your jive on and shake that tail feather. Get into it, this could become a new exercise. You won't loose weight, as you are eating the buttery, creamy, chocolate, but you are having fun making it.
Once this is made, leave aside and allow to set slightly.
To make the cake itself,
You know what, this will save me typing and you reading. Just do exactly the same for here, as you did for the coffee and walnut cake. Except, don't add coffee, add chocolate, as in the ganache- but only some of it. You need some for decoration.
Bake for 25 minutes or so, until it is cooked through and risen and fluffy looking. Take out when it is cooked and leave to cool on a cooling rack... you know what to do, you read the previous instructions on how to do it.
Make the buttercream in the same way, again without coffee, but using chocolate instead.
Ice the cake in the same way and then drizzle the ganache on top and over the cake. YUM!
Now this one is done as well! Yummy!
That is it! Enjoy!

Ciara