Friday 29 April 2016

Apple Crumble- round 2!


Hello again all,

So I have this faint recollection that I have in fact already posted about apple crumble. But I have a sneaking suspicion that that apple crumble had cinnamon and different spices in it, this one does not. So let us think of it as a comparison blog. A crumble that is a little more summery and a little less wintry.

I always feel that heavy desserts, in that ones that are rich in cream, chocolate and all that, are very much a comforting thing. They are something that makes you want to snuggle up by the fire and chill. Whereas, desserts like sorbet, fruit tarts and citrus cakes and a summery thing. Something that makes you want to bask in the sunlight and 'lay like broccoli'. I'm pretty sure that is the right quote from one of my favourite films- see if you can guess it?

So this apple crumble differs in that there are no spices, it purely celebrates the apples and the only the apples. Something that is fresh, homemade and delicious without having to try.

Apple crumble to me is something that can be eaten whatever time of year. In the winter, that's cool, just add some warm custard and you're set. All warm, comforting and luscious. Like a hug, but for the organs. In summer, huzzah! Just add some coulis or cool cream and fresh fruit and you're set to go. All vibrant, pallet cleansing and completely satisfying.

This is a dessert, snack, heck even breakfast that you can eat whenever and something that is utterly timeless. I said breakfast as it has apples in it. Yes, I'm one of those types of people. The kind that knows what looks good, smells good and therefore tries it. The kind that yes doesn't go overboard but does think that a little that takes your fancy does you good.

So, let's get down to it. This is a BBC food recipe. I've made a few changes. The ingredients you'll need are;

For the crumbly, wholesome, tantalizing crumble topping:


- 300g Plain flour
- 175g Soft brown sugar. I used caster sugar and 155g seemed like more than enough for me.
- 200g Unsalted butter. I used normal, non- unsalted butter and it worked fine sure.

- The recipe said to add a pinch of salt, and I know that they say that seasons the sweet, but I didn't bother. There's enough salt in food as it is.


For the sweet, juicy and fresh apple filling:


So, for this part I never really use a recipe. Therefore it changes every time. Depending on what I have in the house, I'll change it to see what works.

- 4 Apples, peeled, chopped and chucked into a bowl
- 1 Lemon- juice and zest
- 2 tbsp Caster sugar
- 2 tbsp Butter, plus a little for greasing the dish you are baking in
- 2 tbsp Water, tap is fine. If you're funny about using tap water and want to use bottled, that is cool. I wonder what sparkling water would do? Ooh? Not much I'm sure, but something to try.

Method to make this wonderful dessert:


- First pre heat the oven to 180 C in a fan oven. What I do is pre heat it to like 160 C and then 5 minutes before I pop the crumble in, I turn it up to 180 C. I think this stops it from getting too hot and allows the crumble to bake evenly and slowly. But again, this changes depending on my mood, the time of day and weather- things like that.

If it's late at night and for some reason I thought it'd be a good idea to bake at like 11am, then yea, i'll throw the thing in there at like 180 C as I'm tired and hope for the best. This will quickly be followed by the realisation that, even thought the idea was nice, the timing was not so nice. I mean, who is going to want to eat this at like 1am when it is done? Midnight, or early morning snackers? Not in this house, my sister isn't home and even then she wouldn't touch my crumble. She has this thing about warm, soft fruit. What can I say, she has no idea what she is missing. Crumble is so great. I love crumble.

Whoops, sorry that was a long winded way to say bake the bloody thing at 180 C. Ah well, i'm sure you were reading this in your leisure time and not when you were driving, working or trying to cook or something. I don't want to be responsible for your distraction and therefore anything that happens because of that. Always concentrate and don't read this if you are working with hot objects, moving a vehicle or anything like that. Safety first! :)

So this won't take long. Crumbles are pretty easy going. But I'll be blunt, mess this up and you're basically screwed when it comes to baking.

Okay, let the baking commence!

Chop up all those lovely apples and pop them into a clean glass bowl.


Zest and juice a lemon and then pour and drizzle all of this over the chopped apples. This will both add a freshness and zing to the crumble as well as stopping the apples from browning in the air.


Leave the apples aside as they need to sit for a little.

In the meantime, weigh out the sugar, butter and water. Didn't take long did it?


Once the dish you are baking the apple crumble in is greased, then you are pretty much ready to begin.

Pop the apples into a deep, non stick, clean pot and heat with a little butter (this is the butter you have set aside already). Once you can almost hear the butter sizzle and the apples scream a little (this sounds vaguely like when you put gummy bears in the microwave and heat them) add in the sugar and water and give it all a stir. Pop a lid over and allow these to steam until you can smell the apples and they have gone all tender and released some of their juices.


Whilst this is steaming/cooking, make the crumble topping. I like to make the best use of my time. So instead on doing one job and then the next, I like to think of how much time it takes for each section and plan around that so that there won't be a period when i'm sitting there waiting. I hate waiting. So impatient I am.

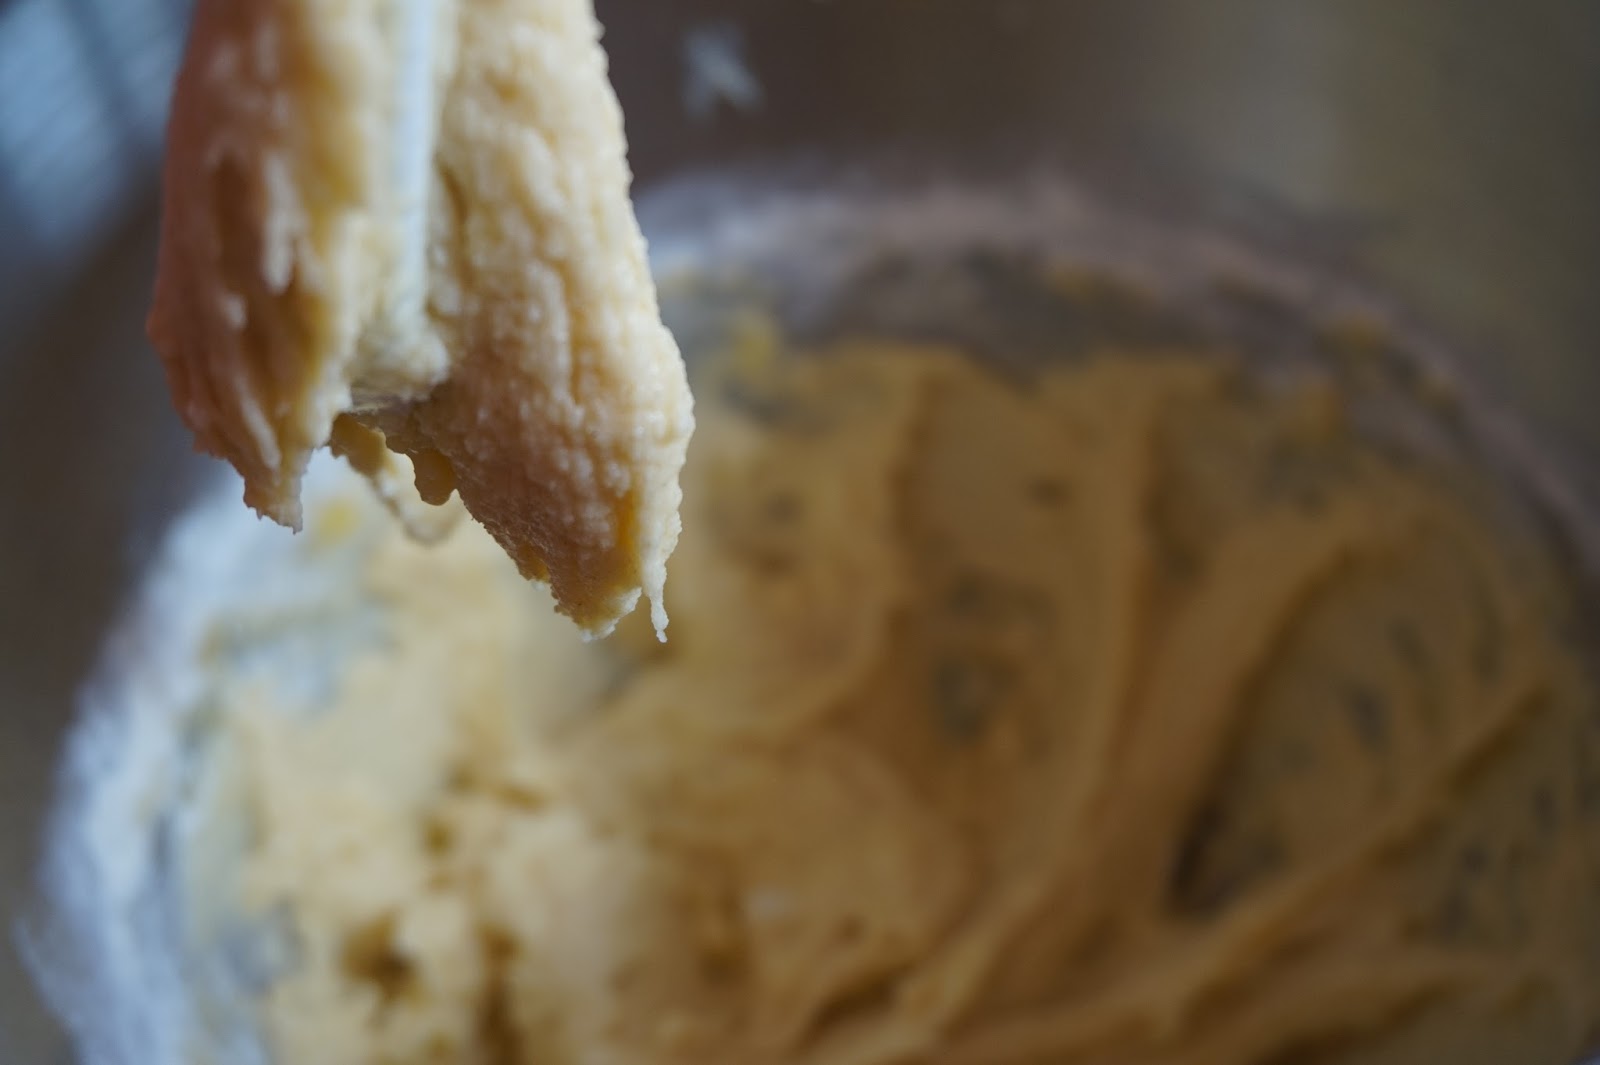
Throw the flour, rip the butter and fling into a deep, clean bowl and rub this together with your finger tips. Do this until it all goes this one sandy, buttery colour and there are no massive chunks of butter present. Add in the sugar and stir this through until it is completely combined. This will lighten the whole crumble and make it look a lit finer. Don't ask me why. Why I do not know.


You're ready. Chuck the apples, juices and all into the dish you have prepared and sprinkle over the crumble. This part is all you. If you want to be wacky and put the crumble on the bottom and the fruit on top- go on. Although, not too sure how that'd turn out and if that was what you wanted, couldn't you just bake it the normal way and then tip and flip? It's gonna be messy either way?


I normally put the fruit on the bottom and then I like a lot of crumble topping. Not exactly half and half or more, but more than you seem to get in the restaurants. I always feel that when it comes to crumbles you order in restaurants, it sometimes seems to be a warm fruit salad or something, with this dusting of crumble on top. Plus I really don't like it when they pre- bake the crumble on its own. I know they say that makes it super crunchy, but to me a crumble needs to be baked with the fruit, have that crunchy and crumbly side on the top and that slightly gooey and softer inner on the bottom that is all fruity and yum.


Once you have assembled your crumble, bake in the oven for 40 minutes or until golden brown, the apple is slightly bubbling up through the edges and it has these subtle cracks rippling through it.


Serve with ice cream, cream, fruit, coulis or whatever you like. For me custard would be the key to my heart, but I hadn't made any and I actually ended up celebrating it and only it. I had some solo. It was great!


Thanks again and have a great day all!

Ciara

Monday 25 April 2016

Chocolate ganache buns


Good evening all!

So yesterday I felt like something moreish, indulgent and fresh. This meant chocolate buns with ganache. Together this brings a crumbly, light textured bun with a decadent, indulgent hit of chocolate.

You could, if you wanted, add the ganache into a buttercream, this will make it sweeter and well more buttercream like. The ganache alone is lovely as it is smooth, silky and holds it shape well. I do love an icing that holds it shape, especially when piping with a star nozzle.

Ganache is class. It is class in many ways, least of which it is delicious. It is glossy, shiny and velvety. It has a smooth and soft texture... when you bite into it, it is pure chocolate heaven, a little tart due to the 70% cocoa and then melts in your mouth like a truffle. Like I said, chocolate heaven.

I love how it is so versatile. It can be used as an icing to pipe, drizzle or coat. It can be added to different desserts to enhance them in their flavour. Chocolate cake is delicious anyway, but when you add cream and chocolate, it becomes divine.

The equipment that you'll need for these buns are;


- 1 x 12 hole bun tin
- 6 Bun cases
- 1 Mixer bowl with beater attachment
- 1 Spatula
- 1 Ice cream scoop
- 1 Piping bag
- 1 Star tipped nozzle

The equipment part isn't really necessary, but it will make life easier to be honest. The benefits that come along with a free stand mixer include;

- Your arms aren't going to become as tired from holding up the beaters
- You can potter about and dance round the kitchen, knowing your batter is grand
- You can drizzle and dribble in different ingredients with ease and precision as you're not mixing with one hand and fumbling through adding things with the other.

I use an ice cream scoop as it gives even amounts of batter for each muffin case. Plus it cuts down on the potential for mess being made. I hate mess. I like to have everything in its place, with its label and tidy.


The ingredients for the buns are:


- 110g Self Raising Flour
- 110g Caster Sugar
- 110g Butter
- 2 Eggs
- 300ml Double cream
- 300g Dark Chocolate

The Method:

This is a Delia Smith recipe and will normally make 6 buns, but it may vary depending on the amount of liquid you put into the mix like milk or chocolate and sometimes, what can I say, it just varies for no reason whatsoever.

- Pre heat the oven to 170 C in a fan oven and heat.

- Line a bun tray with bun cases and I put mine in the middle. I feel it will allow them to all bake more evenly, but who knows really why I do anything, lol?

- Pour the cream into a pot and gently heat until it begins to steam a little. This is when it is hot enough to melt the chocolate, but not too much to make it spoil and go sour.


- Using a sharp knife, crack and slice up the chocolate until it forms this shard-like texture.


- Push this into the cream, hopefully not as enthusiastically as I did, as that will cause some cream to splash and splatter the hob. Using a metal dessert spoon, stir occasionally until it all blends together and forms this one, un-marbled chocolate colour. It should be silky looking and have a shine, but be thicker than it would be had you simply just melted chocolate.


- Leave this to sit until you need it and also to allow it to thicken up slightly.

- Put the butter into the mixer and beat until it is pale, and light as you like. I normally stop mixing it when the butter has gone from that lumpy, yellow stage to a more fluffy and white-ish colour.


- Add the sugar and at this point I scrape down the bowl to ensure all the butter can be mixed in with the sugar and go all fluffy and creamed.


- Add in the eggs and whisk until they are all frothy and bubbly on the top.


- Chuck in the flour and mix until halfway combined.


- Add in a little of the chocolate ganache to enrich this batter and make it wonderful. It should go a light chocolate colour.


- Scrape the bowl using the spatula to ensure it is all mixed in evenly.

- Use the ice cream scoop to portion out the batter and then pop them into the oven to bake.


- Once they are ready, take out of the oven and let them cool completely on a cooling tray.

- Pop the ganache into a glass bowl and cover with clingfilm to cool completely in the fridge.


- Once the buns are cooled and the ganache has set enough to be piped, take it out of the fridge.


- Pop the ganache into a nozzle fitted piping bag and twist the end of the bag to stop any ganache falling out. If any where to though, lets hope it has the pure luck of falling into your mouth as it is too good to waste on the floor.


- Using your most dominant hand, the way I figure this out is the hand I write with. On another note, if you want to know your dominant foot, stand up straight and then lean forward, far enough until you begin to fall. Whichever foot comes out first to save you, is your most dominant foot. Although, a word of warning, if you are going to try this, try it somewhere forgiving, as in nowhere that is filled with gravel, lined with nails or sharp objects and most importantly, do it somewhere alone. When you are testing this theory, you can look a bit of an eejit.


- Apply pressure to the top of the bag, as this will help the chocolate to come out and then swirl it on top of the bun until you are happy with the look of it.


- When the buns are piped, there is only one thing left to do, eat them!


Enjoy and thanks again for reading. Have a lovely day everyone.

Ciara


Friday 22 April 2016

Cake Brownies- plain and simple


Hola amigos! If my computer was smart enough, I could have put in an upside down exclamation point thing, but it isn't, so I didn't...

With the weather being so beautiful, I thought it only fitting to bake something equally as indulgent.

This is what I love about baking, well more like love/hate. If I want to try something out, I can and most of the time it works out and sometimes, well I'm not going to say it doesn't work out, it just turns out differently to how I had anticipated it to come out.


That was that case today. Brownies are fickle. Sometimes they work and sometimes they turn out more cake like. To me, this really isn't a bad point, it just isn't a brownie per say. But they were crispy on the outside and had a gooey beyond belief inner.

These were rich, gooey and intensely chocolaty, even with the orange. One and done is all you need when eating these. They go really well with some cool, clotted cream and orange zest, given that they have orange in them.


But hey it's baking. It is supposed to be fun and full of experimentation. You never know if you don't try. And once you try, it just means that you can work at it until you get it just right. It's gonna be pretty annoying at times, but that is life. Sometimes things don't work, but you get on with it.

So, next time, I think I'll leave them in to bake for a little longer or just try another recipe. Baking comes down to two things in my mind, timing and the recipe.

1) You need to obviously bake them for long enough.
2) Having the right recipe goes a long way in making a solid baked good. Solid in the sense that this is my way of saying really good and not as in the texture.

The thing with these is they are rich as hell. So if you have a dark side that loves something indulgent and completely caters to your sweet tooth, then you'll love these. Me, I think I'm going to look for something a little more mellow. These brownies, or as I call them, cake brownies, really need something light or tart to cut through the sweet density.

The ingredients for this are pretty basic and are the kind that will be sitting in your kitchen cupboards.

This is a Good Food recipe. Which to me, normally is a pretty safe bet, but this didn't really do it for me. For me, to make a brownie up there in the scale of deliciously fabulous brownies, it needs to be crispy on the outside and light and crumb like on the inside. It needs to have the right balance between gooey and crumbly. I know, like I said, they are kind of a pain to make. But I love baking, so I'll give it a try sure. :)

First you'll need a large, deep, non-stick baking dish. Something you'd use to roast vegetables or something in. Either way, it needs to be deep enough to be able to contain the chocolate mix and allow enough room for it to rise.

The ingredients you'll need are;

- 200g butter, softened and chopped into little chunks. I used unsalted as that is what I had in the house.

- 200g Dark Chocolate, chopped up. I used the 85% stuff, but next time, again to make it less rich, I'd use something like 70%?

- 1 large Orange, zest. I used 2 and added the juice as well.

- 4 Eggs, whisked and combined

- 350g Caster Sugar

- 100g Plain flour

- 50g Cocoa Powder. I used around 25g cocoa powder to 25g of hot chocolate powder

- 100g Dark Orange Chocolate. I didn't have this, so used another dark chocolate bar


So, as you've probably noticed, these ingredients are all pretty flipping intense. Really decedent. They are all so high in percentage, so to make these a little more relaxed and mellow in their flavour, I could add a lower percentage of chocolate and cocoa like in the 50-60% range? Or less dark chocolate and more milk? All of these are things to try and test.

The good news, they are quick, easy and simple to make. There are basically five simple stages.

1) Melting the chocolate, butter and orange together in a pot
2) Whisking the eggs and sugar together
3) Mixing this altogether and adding the flour and cocoa
4) Pouring them into the baking dish and leveling out
5) Baking, checking and then cooling them

To start making these you need to preheat the oven to 160 C in a fan oven. This is 180 in a convection. This is something I would also change, I think I had the oven on a little too high, probably like 170 C. I think this made the top set too quickly, without giving the center enough time to bake and become crumbly at the beginning. Instead it set on the outside and was a little too gooey on the inside. So next time I'll make sure to have it at like 150 C so that it doesn't get too hot. Then bake these slowly and allow them time to bake slower and become crumbly and delicious.

You need to grease the baking dish. To do this, melt a little butter and use a pastry brush to give the dish an even, non stick coat. Line with baking paper and that is one job done.


You need to fling the butter cubes, chocolate and orange into a pot and gently heat this until it all melts and goes from this, chunky, mess of ingredients to this silky, velvety chocolate gorgeousness.


Take this off the heat once all the chocolate has melted and it has this wonderful glossy look. Leave to cool completely, as when you add this to the eggs and sugar, you don't really want it to scramble. Hmm, scrambled egg flavoured brownies. Yuck.

Whisk the sugar and eggs together until they become foamed up, light and fluffy. This should have the same look as it does when you are making a Swiss roll, another fickle dessert. They do love to crack. But if you tip out the Swiss roll sponge onto a sugared piece of baking paper on top of a slightly damp tea towel and then roll it up and cool it like that, it'll make things a lot easier.

Once the eggs have reached this stage, turn the mixer right down, to the lowest speed it'll go and whilst it is mixing away, add in the chocolate, butter and orange mix until it is all combined.


Add in the flour and cocoa powder and give it a good mix.


It always looks heavy to me as there are a whole lot of ingredients in there. But this actually looked pretty good, all chocolaty and silky. I then poured this into the baking dish and evened it out with a palette knife.


Bake this for like 30-40 minutes until it is set and when you put a skewer in it comes out clean. This is a fine line between baked and over-baked.


Once these are baked, they are great sliced up and served with some clotted or thick cream and a little orange zest. Anything that will take away the density and intensity. I'm sorry if I'm repeating myself slightly, but there isn't many ways to describe these accurately.


Anyway, that is this baking experiment done for today and i'll be back soon with another bake. I might even post about potatoes at some point. Just to mix it up a little. Why not?

Thanks again and have a lovely evening all!

Ciara