
So this is a continuation of my blog yesterday. It is the Peanut butter and Chocolate one- this is a really lovely little cake and it has a lot of flavour combinations. It is full of rich chocolate, is indulgent and sweet, and this is all off set by the peanut butter. It balances the sweetness. So, to me, this is a really lovely cake.
This afternoon I went on a walk to a wonderful beach and it was so lovely. All sunny, fresh and actually warm. I didn't need my coat at all. Chasing the dog was fun... for me at least. Toffee kept looking back at me as if to say, 'Am, go away! I'm walking and sniffing here. I don't need you chasing me and making me run.' She has very expressive eyes you see and we have this thing going on where we know what each other is thinking. Well, this is the case as far as I think I know what she is thinking and then pass this off as us having some special connection. When in reality, Toffee sees me as the treat giver, the person who walks her and someone who will occasionally chase her round the garden or beach. It's a mutual relationship. Sometimes she will chase me up and down the house, drag me along on walks and she'll drop pieces of previously buried treats at my feet.
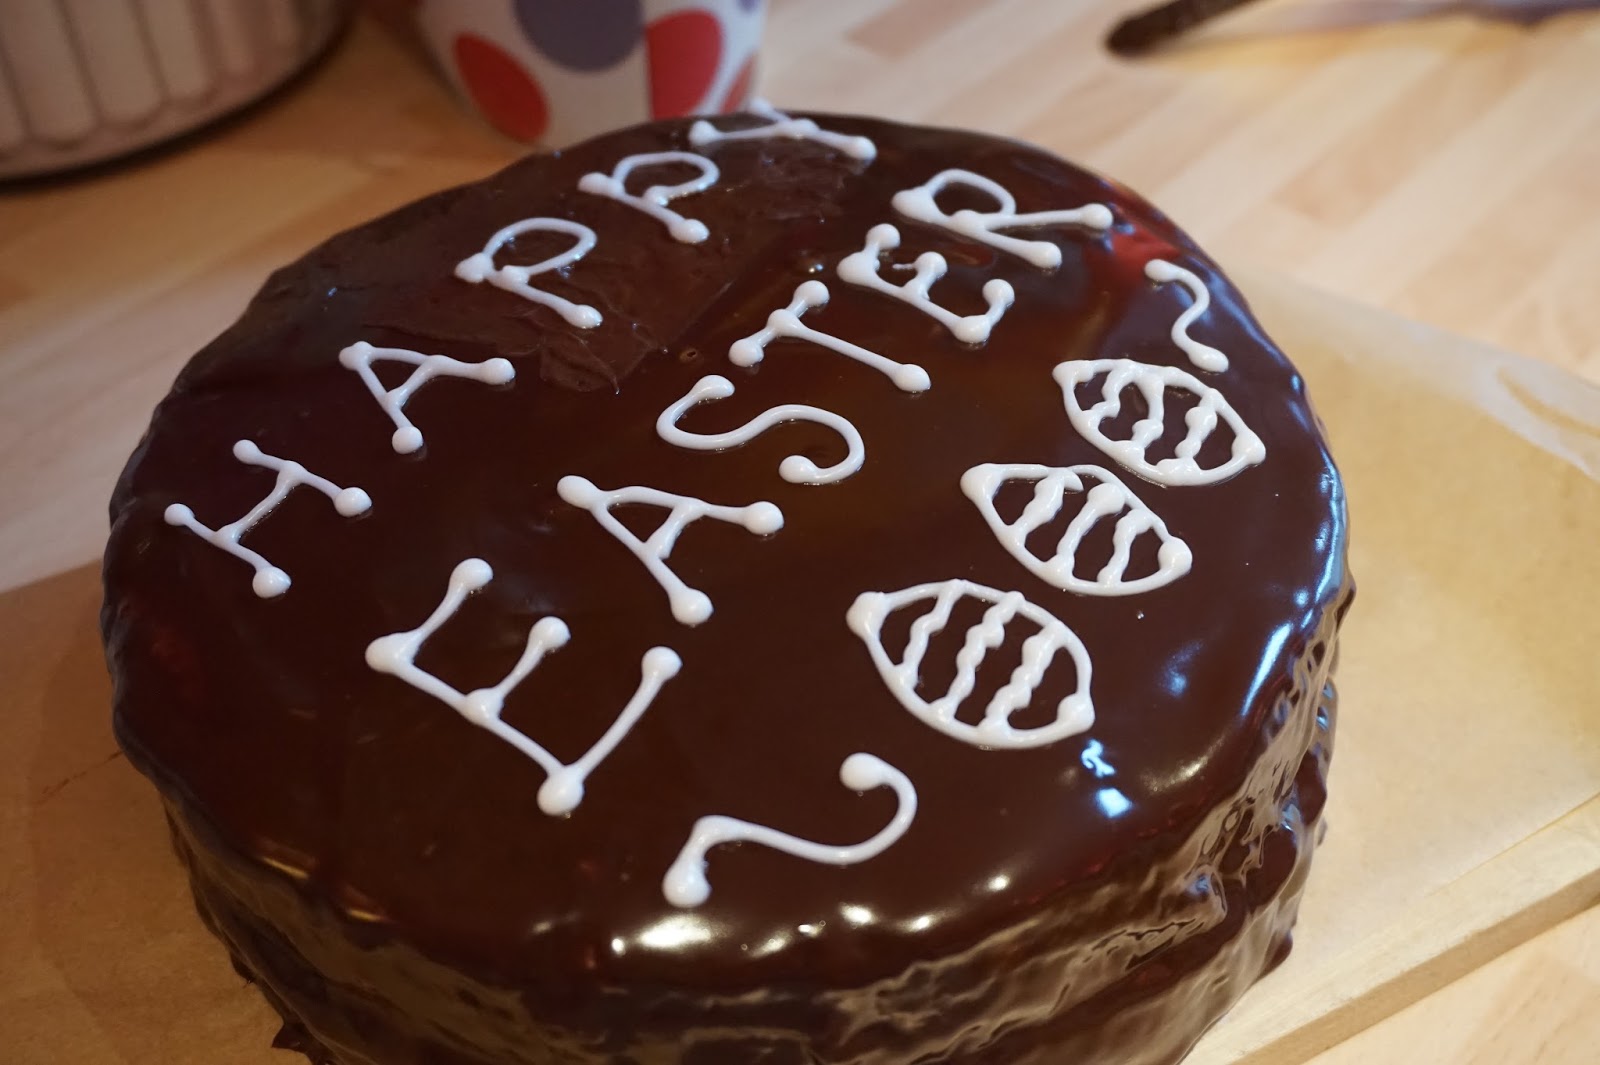
So, I am now finally getting back to blogging about this peanut butter and chocolate cake. I think that the ganache really makes it stand out and look impressive. I love how from a few simple ingredients you can get something so beautiful; both to eat and to look at.
This lovely weather makes me want to bake even more than I already am. I've been really busy the past few days and have a really busy week coming up next week. Baking something different and new each day is great as it allows me to practice and maintain my baking skills and abilities. It also gets my bakes out there and seen. So, get ordering and have some homemade, freshly baked, local baked goods delivered to your house! How easy is that!?
The ingredients you'll need for this cake are:

- 220g Self- Raising Flour
- 220g Caster Sugar
- 4 Eggs
- 220g Butter
- 100g Dark chocolate
- 100ml Double cream

- 300g Unsalted butter
- 675g Icing Sugar
- 340g Smooth peanut butter

- 200g Dark chocolate
- 200ml Double cream
- 5g Butter
Method:
- You want to put some music on, relax and just have fun with it. Or at least that is what I do. When I have an order though, I look a bit like a marshmallow. What with the health and safety, steel toe boots, the trousers and the chef jacket and hair net and hat. It is all very protective and clean and I love it! It does make me look puffy though :) but I'm cool with it.
I love listening to music that I can sing along to. Something catchy. I find that this sets the perfect environment to bake in.
- Pre-heat the oven to 170 C and allow this to heat up until it reaches that warm and toasty stage.
- Line 2, 20cm round non-stick tins with the leftover butter and then place on some baking paper. It'd be a bit grim if you baked your cakes and then when trying to get them out of their tins, their little butts were jammed stuck to the tin base. That would make me a little morose I must say.

- Weigh out all the ingredients and leave aside until they are needed.
- Place the butter into a mixer bowl and give it a wee whisk until it is light and all that lovely stuff.

- Add in the caster sugar and allow this to mix until it is equally as fluffy and light.

- Pop in the eggs and whisk until it is slightly bubbly and foamy around the edges. This might look like it has curdled slightly, but I promise it is natural and won't ruin the cake in the slightest.

- Plop in the flour and give it a whisk until smooth and lovely looking.
- Crush up the chocolate and put this into a bowl. Heat up the cream and when heated through and steaming slightly, pour over the chocolate and stir until smooth and velvety looking. It should have a glossy shine once the butter has been added. This stage puts the biggest grin on my face, I mean it. For real. It is a beautiful stage. See when the cream hits the chocolate, aw man that is so gooood! It is so soft and luscious. Sensual almost. I could write a book one day called, are you ready:


The Sensual Smells of Food- by CVL bakes- Ciara Little. (Copy Right) or whatever you are meant to do. You heard it here first folks.
- Bake these cakes for 25 minutes or until they have risen up and look baked. Generally, they'll have a crack in them when they are baked. A lovely little crack saying 'Hello, I'm done! :) Take me out and eat!'

I love baking, I'm not sure if it is coming across? Basically I'll bake everyday, then deliver it to people sometimes for them to try! Not as an order, just a way to get my bakes out there and an excuse to talk to people! Oh man, do I love chatting to people! I love it! It really helps me if people are tasting my baked goods as then I know what other's think and also it allows me to tweak them. I can add different things to them or make them in a different way and see what, if any, difference that makes!
It is kind of like running. Baking requires the patience to know that it'll all be grand in the end. The endurance and stamina to follow it through, even if it gets difficult to see the end result. The passion to keep going and persevere. Then the absolute love and joy follows. That wonderful moment when you've completed something that you've put love, care and attention into. That moment when you can see that all the time, effort and motivation that went into making this, has well and truly paid off. I love love love baking. It makes me so very happy. Baking a day is like happiness to me. Maintaining my craft as the madre would say. She does love to impart some of her wisdom on me. I appreciate the in-house taster.
- So the cakes are baking away. Check on them every now and then, to ensure they are alright. As every oven is different, the temperatures and times I am listing mightn't suit the oven you have. Listen to your oven. See what it wants. I love my oven, we are buds! It warms me up when I'm cold, I clean it regularly and sing to it during this 'bath time'. Sometimes, I turn off all the lights at night and just turn on the oven and look at the gentle, comforting light it gives off. It's a happy kind of light. The kind of light that you just want to hug. So amazing.
- Once the cakes are done, take them out of the oven and set on the hob. After a few seconds, using oven mitts, gloves or like me sometimes, your asbestos hands, lift away the tins and allow the cake flesh (ooh, was the word flesh justified?) time to breath.
- What I do is place the top of the rack over the cake tin, then flip it over, peel off the tin and then using a palette knife, pop the base off and peel away the paper. This then allows this billow (ooh, good word) of steam to be released. Wow- pretty. It's a special moment. :) Then flip it again. Now the cake top will be flattened, making it easy to ice, the cake is cooling and all is well in Ciara's perfectionist world.


- To make the buttercream, chuck the unsalted butter into the mixer and mix until it is of the desired consistency. This will be light, whipped and pale looking.
You're all probably saying to yourselves, 'Flip sake Ciara, we know! You've only blogged about it a gazillion times. But for the benefit of the doubt, I keep posting it as if you've never made it in case a new reader is reading this. If it were me, reading my blog (Cue narcissistic moment... that reminds me, I was having coffee today and the place I was in had so many mirrors. It was a narcissist's heaven! Every angle was catered to. Back, front, side, other side.) I would like to know how to make the whole thing, instead of having to sift (okay, I'm loving the unintentional, but completely fitting verb) (Inner thought, from my original though- or am I that clever and made sure that I was going to be using all these very fitting words? Nope, it was the first. I'm the kind of person who only has great replies and come-backs about an hour or so after they would have been bloody fantastic!) through a lot of past logs, just to know how to make buttercream.
- Where was I? Oh yes, buttercream. Add in the icing sugar and mix slowly until it is all combined. What I actually do, is have the mixer on super slow, like having to drive in town at 20mph slow and tip in a little tbsp of the icing sugar at a time. It takes a little longer, but it means you and your whole kitchen doesn't get an icing sugar facial.
- Whip this until it is light, fluffy and buttery looking. I like my buttercream as it isn't too sweet. Basically what I do is taste it after a few additions of icing sugar, each time with a new spoon, even if this is just for you, don't get bad habits, nobody likes a double dipper. :) Once the buttery aftertaste is gone, I stop adding.

- Add the peanut butter and this will turn the buttercream from looking all pale and a yellow/white to a golden, roasted nutty colour. Peanut butter colour. Then whisk this in a little at a time. Be careful though, don't add to much as it could start to look split. This isn't it splitting, it is the way it'll look if you add too much. As peanut butter has so much oil in it, it naturally makes the buttercream not want to stick to anything. Much to the perfectionist in Ciara's disgust.... I make it work though.
Here's a little tip, either refrigerate it a little, and then spread or pipe it on. But one thing is sure, make sure you have a cup of boiling water near. Use this to dip your palette knife in each time you want to spread on the buttercream. This will stop it from pulling away and bring some of the cake along with it... I found this out the annoying way during my test cake. But that is why test cakes are great! It was perfectly fine and still tasted really lovely, it just meant that it was a bit of a pain to ice. Again it is all apart of the job and I love researching new ideas on how to make things easier and testing things.

- Spread this onto the cakes when they have cooled. Place one (the bottom) cake on a non stick area. I put mine onto a plate or chopping board, covered with little squares of baking paper, placed underneath the edges. Making less mess, easy access and the ability to move it with ease. Pipe an even layer of the buttercream onto the base of the cake and then using the hot palette knife, smooth it out to create an even layer. Place the other cake on top and repeat. The only different this time is making sure to ice the sides too. Make sure that the palette knife is always hot, it'll make life so much easier.
- Once you've achieved an even layer of icing, pop into the fridge to set and firm way up for around an hour. Cover it to ensure it doesn't get too cold though, with a little sheet of baking paper or something, just to protect it.


- Pop the cream into a pot and heat until steaming. Pour over the chocolate and whisk until glossy, glistening and gleaming! Oh yea, alliteration. Gotta love a bit of alliteration. When this is still fluid and pour-able, but a little thickened and the cake has chilled, pour and even layer of this all over the cake. I gingerly pour it over first, and then look where it needs more icing around the edges, I then pour more where needed.

If you want to, pipe something on top, but to me, this looks simplistic, sleek and sublime.


Now cut into that bad boy and enjoy! Rhyming without intention, I'm in fine form today! :)
I'll be back soon with another post and guess what, tomorrow I am making Lemon Meringue Cupcakes, so go to my Facebook Page: CVL Bakes to see updates, photos and all that good stuff!
Thanks again!
Ciara


