
So, I had an order for the 3rd October for a heavy metal themed cake. This was a really exciting one for me, as it required a lot of creativity and fun! Both of which I had! This was a cake that would be the shape of a drum.
This was a big cake and took around 5 hours to construct. This is what I did;
1) Clean the kitchen, with my trusty steamer. I do this to sterilise the whole kitchen.
2) Get into my cooking wear, being my chef coat and trousers and hair cap.
3) Wash hands.
4) Get all of my ingredients out of the cool area or fridge.
5) Prepare my cake tins, 3 x 25cm with baking paper.
6) Preheat the oven.
7) Measure out the ingredients.
8) Make each cake batter amount, one at a time so I know each one is even in weight.
9) Once all filled, bake the cakes for 45 minutes or so.
10) Wash hands.
11) Check the cakes.
12) Take cakes out of the oven and place onto a cooling rack in a cool, dry place.
13) Wash dishes and hands.
14) Get buttercream ingredients out.
15) Make buttercream.
16) Wash hands.
17) Cover buttercream and leave aside.
18) Prepare cake board, roll out white fondant to the needed shape.
19) Buttercream the cake board with a thin layer of buttercream.
20) Drape the fondant onto the cake board and use the smoother to even out and get rid of air pockets.
21) Chill in fridge to set.
22) Check cakes are cool.
23) Once cool, butter cream and layer them.
24) Place this onto the chilled ans set cake board.
25) Chill cake in fridge.
26) Roll out black and white fondant icing to create a tie dye effect.
27) Trim to the size needed.
28) Drape around the side of the cake to cover the sides and press firmly to stick on.
29) Wash hands, as Icing and fondant make hands dry and sticky, but still clean of course.
30) Roll out black fondant and cut to size.
31) Place on the base of the cake at the top and match up with the icing on the side.
32) Use the cake smoother to smooth out.
33) Roll out white fondant and cut strips to create the frame of the drum.
34) Spray with shimmer spray to give a nice coating and shine.
35) Damp the back of the strips with water as this will help stick them onto the icing sides.
36) Stick strips onto the side.
37) Chill cake once all icing is on.
38) Cut out the lettering for the AC DC and the Happy birthday message
39) Set aside to set and firm up.
40) Take the cake out of the fridge.
41) Damp the backs of the icing letters and stick onto the cake.
42) Check the cake to ensure everything is even and neat and tidy.
43) Place cake in a dry, cool area, covered and safe.
44) Prepare receipt and all the other things that go with my orders.
45) Done.
As you have read, there are a lot of steps to making this cake and cakes like these. But I love this cake and had so much fun making it. Yes there were stressful times as I am a perfectionist of sorts, but it was really fun. The best bit is seeing it turn from one things to the finished product. It was really cool seeing it all coming together step-by-step.
The ingredients you'll need are, for a cake of this size,

For the Cake:

- 660g Self Raising Flour
- 660g Butter
- 660g Caster Sugar
- 12 Eggs
For the Buttercream:
- 200g Butter
- 400g Icing Sugar
- 2 tbsp Vanilla Extract
Method:
- Put 220g of the butter and sugar into a mixer and mix on a high speed until light and fluffy. Add 2 eggs and then mix slowly then quickly, as to not scramble the eggs. Add 220g of flour and mix until combined and loose. This is enough batter for one 25cm cake.
I did it in three batches as wanted to get all the cakes the same size and weight.
- Put the batter into the cake tins, that are lined with butter and baking paper and then smooth them out using a pallet knife or something along those lines.
- Bake in a 170 C oven for 40- 45 minutes or until golden brown, bouncy to the touch and when a skewer comes out clean.
- Put onto a cooling rack out of their tins, in a cool, dry room to cool completely.
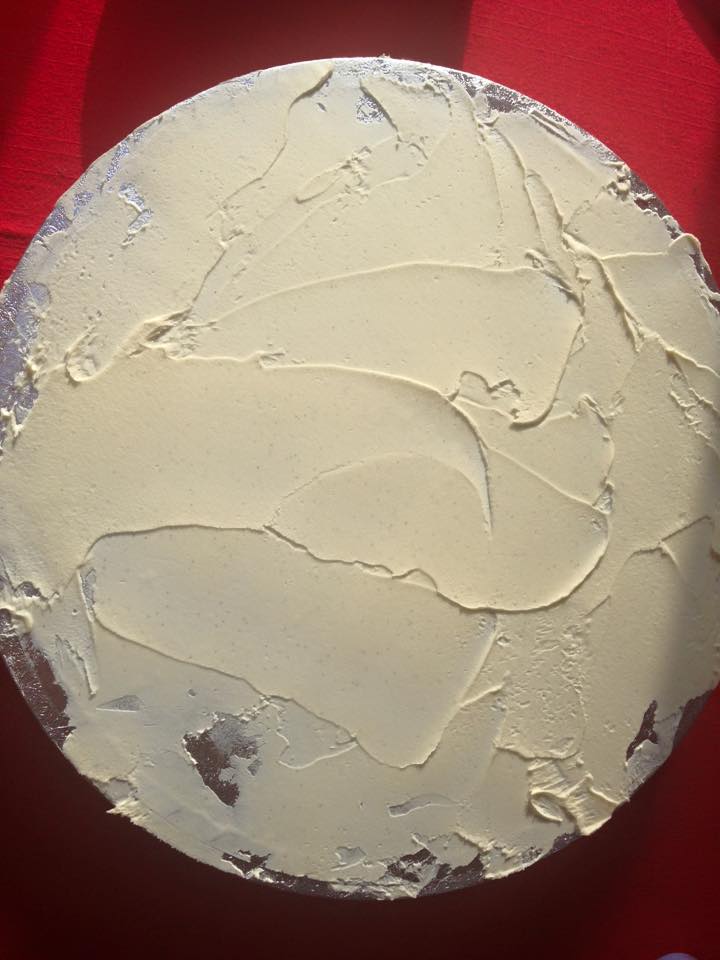
- To make the buttercream, cream the butter in a mixer until soft. Gradually add the icing sugar, spoon-by-spoon to ensure it is all incorporated evenly. Add the vanilla and this will loosen it a little making it easier to ice with.
- Ice the cakes once cool with a thin layer of buttercream in the middle. Place the cakes on top of each other, using the buttercream to stick them together. Then ice the sides.
- As discussed above, roll out the various fondant icings and layer onto the cake and flatten with the cake smoother.


And that is the cake done! Yum!
I really loved making this cake, as said many times lol. It was really creative and fun. I hope that you all enjoyed hearing about it too!?
Thanks again!
No comments:
Post a Comment