
Good evening all!
So yesterday I felt like something moreish, indulgent and fresh. This meant chocolate buns with ganache. Together this brings a crumbly, light textured bun with a decadent, indulgent hit of chocolate.
You could, if you wanted, add the ganache into a buttercream, this will make it sweeter and well more buttercream like. The ganache alone is lovely as it is smooth, silky and holds it shape well. I do love an icing that holds it shape, especially when piping with a star nozzle.
Ganache is class. It is class in many ways, least of which it is delicious. It is glossy, shiny and velvety. It has a smooth and soft texture... when you bite into it, it is pure chocolate heaven, a little tart due to the 70% cocoa and then melts in your mouth like a truffle. Like I said, chocolate heaven.
I love how it is so versatile. It can be used as an icing to pipe, drizzle or coat. It can be added to different desserts to enhance them in their flavour. Chocolate cake is delicious anyway, but when you add cream and chocolate, it becomes divine.
The equipment that you'll need for these buns are;

- 1 x 12 hole bun tin
- 6 Bun cases
- 1 Mixer bowl with beater attachment
- 1 Spatula
- 1 Ice cream scoop
- 1 Piping bag
- 1 Star tipped nozzle
The equipment part isn't really necessary, but it will make life easier to be honest. The benefits that come along with a free stand mixer include;
- Your arms aren't going to become as tired from holding up the beaters
- You can potter about and dance round the kitchen, knowing your batter is grand
- You can drizzle and dribble in different ingredients with ease and precision as you're not mixing with one hand and fumbling through adding things with the other.
I use an ice cream scoop as it gives even amounts of batter for each muffin case. Plus it cuts down on the potential for mess being made. I hate mess. I like to have everything in its place, with its label and tidy.
The ingredients for the buns are:

- 110g Self Raising Flour
- 110g Caster Sugar
- 110g Butter
- 2 Eggs
- 300ml Double cream
- 300g Dark Chocolate
The Method:
This is a Delia Smith recipe and will normally make 6 buns, but it may vary depending on the amount of liquid you put into the mix like milk or chocolate and sometimes, what can I say, it just varies for no reason whatsoever.
- Pre heat the oven to 170 C in a fan oven and heat.
- Line a bun tray with bun cases and I put mine in the middle. I feel it will allow them to all bake more evenly, but who knows really why I do anything, lol?
- Pour the cream into a pot and gently heat until it begins to steam a little. This is when it is hot enough to melt the chocolate, but not too much to make it spoil and go sour.


- Using a sharp knife, crack and slice up the chocolate until it forms this shard-like texture.

- Push this into the cream, hopefully not as enthusiastically as I did, as that will cause some cream to splash and splatter the hob. Using a metal dessert spoon, stir occasionally until it all blends together and forms this one, un-marbled chocolate colour. It should be silky looking and have a shine, but be thicker than it would be had you simply just melted chocolate.


- Leave this to sit until you need it and also to allow it to thicken up slightly.
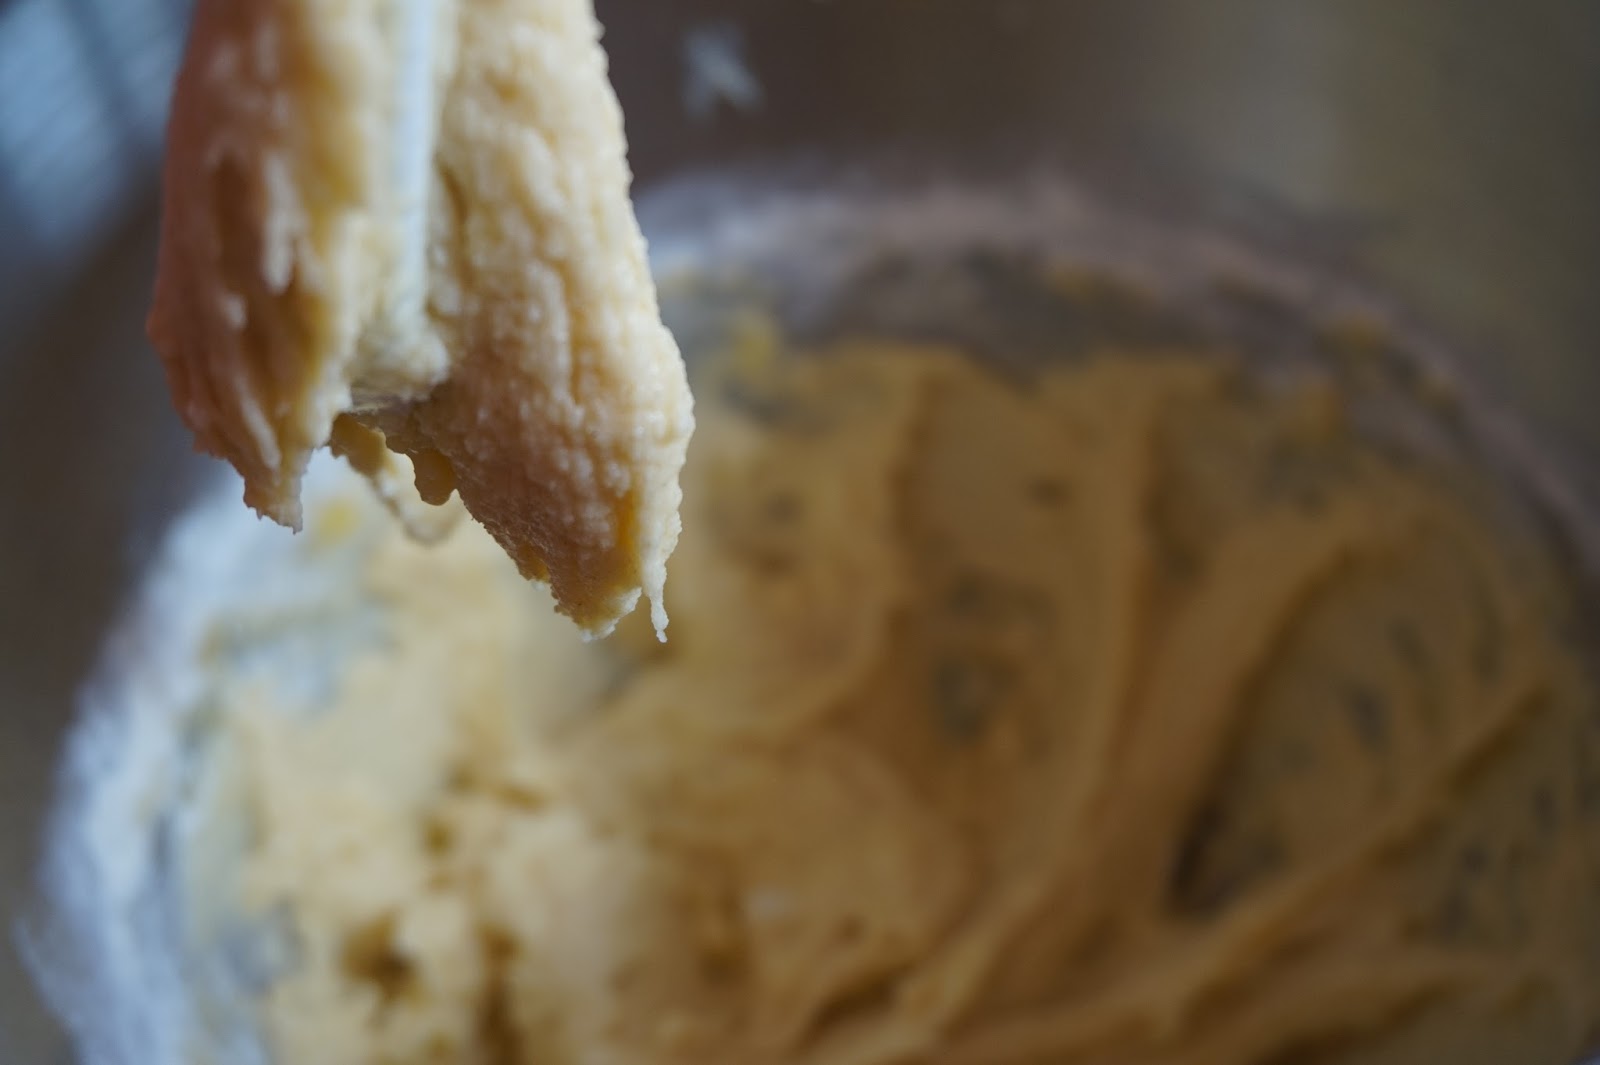
- Put the butter into the mixer and beat until it is pale, and light as you like. I normally stop mixing it when the butter has gone from that lumpy, yellow stage to a more fluffy and white-ish colour.

- Add the sugar and at this point I scrape down the bowl to ensure all the butter can be mixed in with the sugar and go all fluffy and creamed.

- Add in the eggs and whisk until they are all frothy and bubbly on the top.

- Chuck in the flour and mix until halfway combined.


- Add in a little of the chocolate ganache to enrich this batter and make it wonderful. It should go a light chocolate colour.


- Scrape the bowl using the spatula to ensure it is all mixed in evenly.
- Use the ice cream scoop to portion out the batter and then pop them into the oven to bake.

- Once they are ready, take out of the oven and let them cool completely on a cooling tray.
- Pop the ganache into a glass bowl and cover with clingfilm to cool completely in the fridge.


- Pop the ganache into a nozzle fitted piping bag and twist the end of the bag to stop any ganache falling out. If any where to though, lets hope it has the pure luck of falling into your mouth as it is too good to waste on the floor.

- Using your most dominant hand, the way I figure this out is the hand I write with. On another note, if you want to know your dominant foot, stand up straight and then lean forward, far enough until you begin to fall. Whichever foot comes out first to save you, is your most dominant foot. Although, a word of warning, if you are going to try this, try it somewhere forgiving, as in nowhere that is filled with gravel, lined with nails or sharp objects and most importantly, do it somewhere alone. When you are testing this theory, you can look a bit of an eejit.

- Apply pressure to the top of the bag, as this will help the chocolate to come out and then swirl it on top of the bun until you are happy with the look of it.

- When the buns are piped, there is only one thing left to do, eat them!


Enjoy and thanks again for reading. Have a lovely day everyone.
Ciara
No comments:
Post a Comment