
Good evening all!
So I'm back again, which is both as promised and inevitable as this is my blog; so who else would it be?
Today I wanted to strike another bake off my Baking Aspirations List, and even though this bake wasn't on my list, number 30 did say 'whatever else I fancy' ... or something along those lines? So I made a Victoria sponge, but not in the same traditional way that you would normally see it.
I was watching James Martin's Home Comforts show the other day and he made a Victoria sponge. I rather liked the look of it, so thought I would give it a go, but put my own twist on it.
Victoria sponge cakes are special to me, for the simple fact that a Victoria sponge cake was the first cake I ever made. I know- EXCITING. I was all of 10 years old. It was a rainy day... no cloudy day... or was it a rainy day? The weather really isn't relevant to this story. Anyway, the cousins were coming round (I forget why) and I had a friend over. We were baking together and it was fun, almost. I don't really enjoy having others in the kitchen with me when I am baking. It is me and the ingredients, there is no room for anyone else. (When in reality, the space of our kitchen could accommodate;
- A hyper dog
- A dancing mother
- A cynical sister who claims she is in there for 'moral support'- that is her excuse for not wanting to help, not wanting to clean, or even get up. In fact the only reason she was in there was to eat what was being made.
- A wagon, filled with presents
- All the cousins, of which there are 6. Laughing, speaking loudly and smiling
- A dining table with 4 large chairs
- And a few other things...
So yeah, my only excuse is that I don't like other people in the kitchen when I'm baking. It makes for too much stress and irritation frankly.
That is a long-winded way to explain how a Victoria sponge was the first thing I baked.
I then iced the cake and to this day, a Victoria sponge baked in a loaf tin and topped with pink icing takes me right back to 10 year old Ciara.
The equipment that you'll need for this cake is:
- 2 x 20cm Cake Tins
- Baking Paper
- Mixer or something similar. If the butter is soft enough, you could use a wooden spoon
- A spatula or something to scrape out the bowl with
- A piping bag, or you could always spread the cream on with a spoon or knife
- A sieve
- A pallet knife
The ingredients that you will need to make the cake and decorate the cake are:

For the Cake:
- 330g Butter, softened
(If not soft enough, pop it in a microwave safe bowl and blast it for 30 seconds. If you don't have a microwave, you should leave the butter out at room temperature until it is soft enough. This really doesn't work with hard butter- that is where the irritation comes in)

- 330g Caster Sugar


- 330g Self- raising flour

Method:
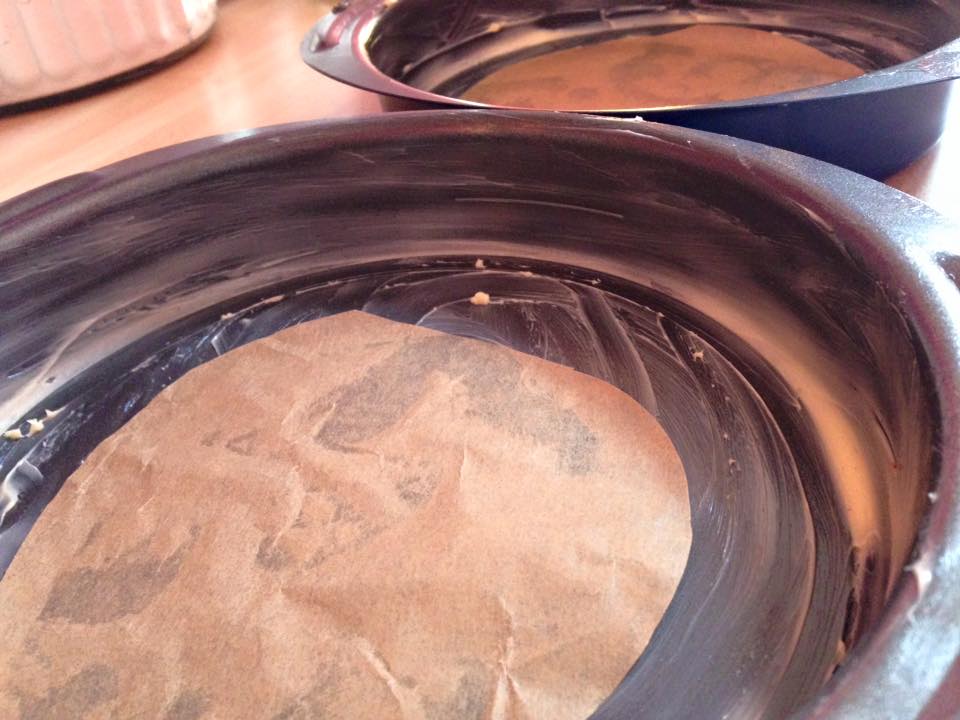
- Grease two cake tins with butter and then line them with grease proof. This doesn't have to be super accurate and exactly line up around the rim. I just have a little piece in the middle, as that is the main part that could stick to the tin, and if it does, i'm not going to lie, it is depressing when/if it happens.
- Pre-heat the oven to 170 C.
- Measure out the softened butter and cream it until smooth.


- Chuck in the eggs all at once and whisk until frothed up, incorporated and a pale, yellow colour.
Stages of Egg incorporation:


- Add the flour and mix. Add a little dribble of milk if the mixture looks thicker than desired. I at this point normally do add milk anyway, as I feel it ensures that the cake will stay moist (ugh, loath that word).
The stages of the cake making:


- Portion out the batter into the two cake tins and smooth out with a pallet knife, this will level off the cake.

- Throw the cakes in the oven (not literally) and bake for 25- 30 minutes, or until risen, golden brown and bouncy.


- Wrap a tea towel around a cooling tray and tip the cakes, top first onto this to cool. Peel off the tin and grease proof to allow the steam to escape and the cake to cool.
(The reason behind wrapping the cooling rack in a tea towel is so that when you're cooling the cakes, your cakes cool without sticking to the grooves of the wire rack. Meaning it will stay level, flat and not have any rims and scores on the surface- hurting presentation. I picked up this trick after watching a cooking programme)
For the Decoration:

- 6 Strawberries (for topping)
- 6 Blueberries (for topping)
- 7 Raspberries (for topping)
- 20g Icing Sugar (for topping)
- Leftover Blueberries (for middle)
- Leftover Raspberries (for middle)
- 300ml Whipping Cream (for middle)
Method:
- When the cakes are cool, move the bottom half onto a plate or whatever you are planning on presenting it on.
- Whisk the cream until thick. Thick enough to hold its shape, but not so thick that you are nearly at the butter stage and is looks all curdled.

- Plop the cream onto the middle of the bottom half of the cake. I piped it on as it was neater and easier. Don't spread the cream too close to the edge or it will spill out the sides... unless you like that look, in which case, go right ahead.

- Drop the fruit on top of the cream in whatever pattern you like. Nobody is going to see this part, so I was scruffy with it. Not in the sense that I overloaded on fruit on one half and was stingy on the other, but that I didn't have each piece in a specific part. It just isn't worth it.

- Dust the top half of the cake with icing sugar. I did this over the sink, as I had just cleaned the kitchen prior to starting and didn't feel like messing the whole kitchen up with the sugar.
- Position the reserved fruit on top of the cake in whatever pattern you so desire.


That is the cake done and dusted. I really enjoyed making this cake as I feel the more traditional Victoria Sponge is cream and raspberry or strawberry jam, whereas, I just have the cream and whole fresh fruit in the cake.
Alternatively, to add an extra dimension, you could add a little lemon curd to give it a zing, or a fruit coulis.
I hope you enjoyed this as much as I did?
Be back soon. Thanks again
Ciara
P.s. At the risk of putting too many photos up, here is a pictorial guide on how I spread on icings with the pallet knife; hopefully it comes across...


Okay, I'll stop now.... :)
No comments:
Post a Comment